How to Create an IRCC Online Account in 2024 – Step-By-Step Guide : In today’s digital age, many government services are moving online, making it more convenient for citizens and immigrants to access the information and resources they need. The Immigration, Refugees, and Citizenship Canada (IRCC) is no exception, as they have introduced an online platform for various immigration and citizenship-related processes.
How to Create an IRCC Online Account in 2024 – Step-By-Step Guide
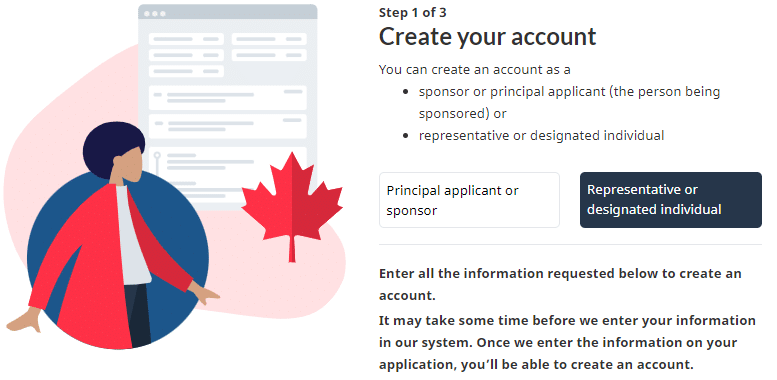
- In this tutorial, we will guide you through the process of creating an IRCC online account in 2024, ensuring you have access to all the necessary information and resources for your immigration journey. Creating an IRCC online account is a crucial step if you are planning to immigrate to Canada, study or work there, or even sponsor a family member.

- Create an IRCC Online Account in 2024 This account allows you to apply for various Canadian immigration programs, track the status of your applications, and receive important updates from IRCC. Let’s get started with your step-by-step guide:
Step 1: Prepare Your Documents
Before you start the process of creating your IRCC online account, it’s essential to gather all the required documents and information. These documents may vary depending on your specific immigration situation, but here are some common items you’ll need:
- Identity Documents: You will need a valid passport or travel document with your personal details and photo.
- Language Test Results: If required for your immigration program, have your language test results ready, such as IELTS, CELPIP, or TEF.
- Educational Documents: Prepare your educational transcripts and certificates, along with Educational Credential Assessment (ECA) results, if applicable.
- Work Experience: If you are claiming work experience, have reference letters, job descriptions, and proof of employment ready.
- Family Information: Gather details about your family members, such as their names, dates of birth, and relationships.
Create an IRCC Online Account in 2024 Having these documents prepared in advance will streamline the account creation process and ensure that you enter accurate information.
Step 2: Navigate to the IRCC Website
- Open your web browser and go to the official Immigration, Refugees, and Citizenship Canada website. You can do this by simply typing “IRCC Canada”
Step 3: Click on “Sign in or create an account”
- On the IRCC website’s homepage, you will find a navigation menu at the top. Click on “Sign in or create an account.”
Step 4: Select “Continue to GCKey”
- You will be presented with two options to sign in or create an account: “Sign in with your bank” and “Continue to GCKey.” Choose “Continue to GCKey” to proceed with creating your IRCC online account.
Step 5: Create Your GCKey Account
- A GCKey is a unique identifier that allows you to access multiple Government of Canada services. Click on the “Sign Up” button to create your GCKey account.
Step 6: Accept the Terms and Conditions
- Read through the Terms and Conditions, Privacy Statement, and Account Recovery Information provided on the GCKey Registration page. Ensure that you understand and agree to these terms before proceeding. Click “I accept” to continue.
Step 7: Create Your User ID and Password
- Create an IRCC Online Account in 2024 You will now be prompted to create your User ID and password. Choose a User ID that is easy to remember and a strong password that includes a combination of letters, numbers, and symbols for security.
Step 8: Set Up Security Questions
- To enhance the security of your GCKey account, you will need to set up three security questions and provide answers. Make sure you choose questions and answers that are easy for you to remember, but difficult for others to guess.
Step 9: Register for a GCKey
- Create an IRCC Online Account in 2024 Once you’ve completed the steps above, click the “Register” button to complete the registration process. You will receive a confirmation message that your GCKey account has been successfully created.
Step 10: Access Your GCKey Account
- You can now use your newly created GCKey User ID and password to access various Government of Canada services, including your IRCC online account. Click “Continue to Sign-In Partner” to proceed to the IRCC account creation process.
Step 11: Accessing Your IRCC Online Account
- You will be redirected to the IRCC website to access your online account. Here, you will have the option to either sign in to your existing IRCC account or create a new one. Since you are creating a new account, click on the “Continue to GCKey” button.
Step 12: Create Your IRCC Online Account
- You will need to fill out several sections with your personal information, including your name, date of birth, email address, and more. Ensure that the information you provide is accurate and matches the documents you prepared in Step 1.
Step 13: Submit Your Application
- Create an IRCC Online Account in 2024 After filling out the required information, you will be guided through the application process based on your specific immigration situation. Follow the instructions, upload your documents, and pay any required fees as part of your application.
Step 14: Review and Submit Your Application
- Create an IRCC Online Account in 2024 Before finalizing your application, review all the information you have entered for accuracy. Make any necessary corrections and ensure that you have attached all the required documents. Once you are satisfied with your application, click the “Submit” button.
Step 15: Receive Updates and Notifications
- Once you have submitted your application, you can use your IRCC online account to track the status of your application, receive important updates and messages from IRCC, and take any necessary actions as your application progresses.
Congratulations! You have successfully created your IRCC online account in 2024 and submitted your application. This account will be your gateway to the various immigration services and information provided by Immigration, Refugees, and Citizenship Canada.


Discussion about this post